 Reviews


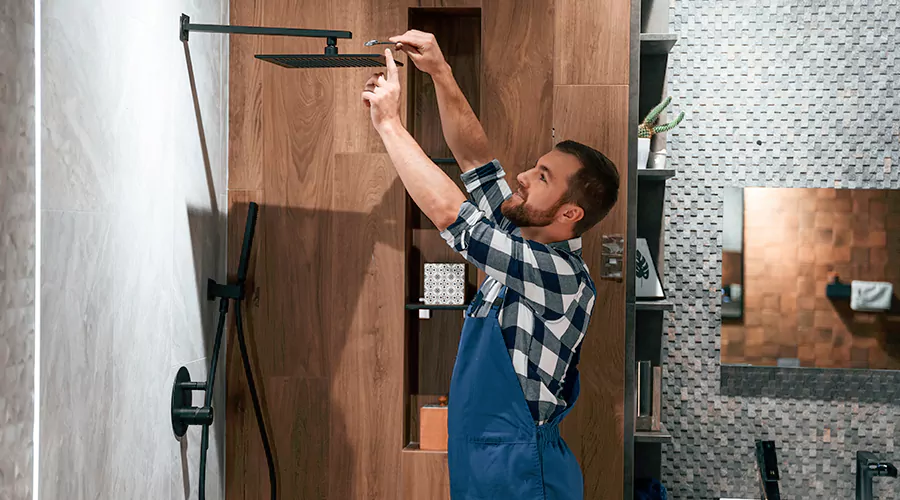
You can replace showerhead hardware yourself in about ten minutes for $15 to $50 for the new head plus $2 of thread tape. A pro charges $75 to $150 in labor for the same simple swap.
No plumbing skill is required because the connection is a single threaded joint. One wrench and one roll of tape handle the entire job.
This shower head replacement how to applies to every style on the market. The steps stay the same whether you're fixing a drip or upgrading the whole shower experience.
Pick the Best Replacement Shower Head
The best replacement shower head for your bathroom depends on your water pressure and your mounting style rather than the price tag. Heads run from $5 for an economy single-spray model to over $2,000 for luxury multi-head kits. Most homeowners land far below the top.
- Mid-range buys the sweet spot: A standard chrome head costs $40 to $75, while premium models with massage and spray settings run $30 to $80. Homes with weak pressure should favor low-flow heads engineered for it, since a giant head on a weak line delivers a drizzle.
- Efficiency pays you back: Water-saving heads pay for themselves in 6 to 12 months through reduced bills.
Insider tip: check the flow rating stamped on your old head before shopping. Matching or beating its pressure feel matters more than nozzle count.
Changing Out a Shower Head Step by Step
Changing out a shower head takes three moves: unscrew the old head, dress the threads and screw on the new one. The only tool is an adjustable wrench with a rag for padding. Budget ten minutes plus soak time if minerals fight back.
- Protect the finish: Wrap the wrench jaws with a rag, grip the shower arm with one hand and turn the head counterclockwise.
- Beat the mineral lock: If the head is stuck, wrap the joint in a vinegar-soaked paper towel and wait 10 minutes to dissolve the buildup.
- Clean the threads: Scrub mineral buildup off the shower arm threads so the new fixture gets a clean surface.
- Tape clockwise: Wrap fresh thread tape around the arm two or three turns in the direction of tightening.
- Install by hand: Hand-tighten only, which preserves the threads and still seals against the tape.
- Test and snug: Run the shower and give a stubborn drip an extra quarter turn with the padded wrench.
Insider tip: manufacturing debris often clogs brand-new heads. Soak the nozzles in vinegar for 20 minutes and clear blocked holes with a pin before blaming your plumbing.
Handheld Shower Head Replacement and Hose Swaps
Handheld shower head replacement adds exactly one connection to the basic job: the hose. The head threads onto the hose and the hose threads onto the arm, and both joints tighten by hand. Diagnose which piece failed before buying anything. If the bathroom also needs fixture upgrades, sink installation can be handled during the same plumbing visit.
- The hose fails first in most homes: Shower head hose replacement alone fixes the common leak at the crimped ends without touching the head at all. Hand held shower hose replacement needs only your grip on the two conical nuts, one at the wall and one at the head. During hand held shower head hose replacement, check the small cone washers seated inside each nut, because a missing washer guarantees a drip.
- Buying decisions come down to condition: A hand held shower head replacement hose comes in lengths from 60 to 84 inches, so measure before ordering. Choose a replacement hose for handheld shower head models in stainless braid rather than plastic, which cracks at the head-end swivel first. When both ends leak and the head sprays crooked, full shower head with hose replacement beats chasing washers.
- Kits simplify the math: A replacement shower head and hose set arrives with matched threads and fresh washers in one package. For upgrades, shower head replacement with hose included costs little more than the head alone. The bracket rounds out the system, and shower head holder replacement fixes a cracked wall mount for under $15 with two screws.
Insider tip: hoses are a universal half-inch thread across nearly every brand. Any hose fits any head, so never pay a brand premium for rubber.
Rain Shower Head Replacement
Rain shower head replacement follows the same thread-and-tape steps with one addition: the arm. Rain heads hang from an angled or ceiling-mount arm to sit flat above you, so the swap often includes two joints instead of one. Plan 20 minutes.
- Budget for both parts: The rain head itself runs $100 to $300 while the arm adds $30 to $200. Rainfall shower head replacement using your existing straight arm works too, though the head will tilt rather than hang level.
- Corrosion decides the arm question: Shower head arm replacement becomes necessary when the old arm's threads flake rust onto your tape, and the arm unscrews from the wall fitting the same counterclockwise way. Grip it with the padded wrench close to the wall to avoid snapping it inside the fitting.
Insider tip: thread the new arm into the wall fitting by hand until snug plus a quarter turn. Overtightening cracks the fitting behind the tile, which turns a $30 part into a wall repair.
Stop Leaks With Washer and O-Ring Swaps
- A drip doesn't always mean a new fixture: Two rubber parts inside the connections cause most leaks, and both cost under $5. Match the leak location to the part before spending on a whole head.
- Swivel drips point to the washer: Shower head washer replacement stops water sneaking past the ball joint where the head pivots, so unscrew the head and pop the old washer out with a flathead. Connection drips point to the ring. Shower head o ring replacement handles leaks at hose nuts and threaded collars, and stretching the new ring into the groove takes seconds.
Check the washers annually as part of normal upkeep. Rubber hardens years before it visibly cracks.
Shower Head Replacement Cost in 2026
Shower head replacement cost splits into a $20 DIY afternoon or a $175-plus professional visit. Full-service installation runs $175 to $451 per head in 2026. The table shows where every dollar lands.
| Approach | 2026 cost | Includes |
|---|---|---|
| DIY basic swap | $15 to $50 plus $2 tape | New head and thread tape |
| DIY rain conversion | $130 to $500 | Head plus new arm |
| Pro labor only | $75 to $150 | Simple swap on sound plumbing |
| Pro full install | $175 to $451 | Fixture plus labor |
| Valve upgrade add-on | $250 to $500 | Pressure-balancing valve work |
Wall condition drives the surprises. Corroded supply lines increase labor, and opening tile or drywall to reach them adds $150 to $300 in repairs.
When to Call a Professional?
Call a plumber when the problem lives behind the wall rather than on the arm. Three symptoms draw that line cleanly, and each one involves parts a head swap can't reach.
- Low pressure throughout the bathroom, which points to clogged pipes.
- Leaks from the shower valve itself, which need a cartridge replacement.
- A rusted shower arm broken off in the fitting, which needs extraction with specialized tools.
Repositioning counts too. Moving the showerhead location or adding a second head crosses into remodel territory with real plumbing and cost implications.
Keep the New Head Flowing
Minerals kill showerheads years early, and vinegar is the whole defense. The routine costs about $5 a year against a $260 average fixture-and-install bill. Three habits do all the work.
- Soak quarterly: Deep-clean the head in vinegar every 3 months to dissolve scale before it hardens.
- Stay hand-tight: Hand-tightening during installs preserves the threads for the next swap.
- Treat the source: Severe hard water justifies a whole-house filter that protects every fixture at once.
Conclusion
One threaded joint stands between you and a better shower. Tape the threads, tighten by hand and the job outlasts the fixture's finish. Anything leaking from the wall or the valve belongs to a plumber. This week, unscrew your old head and soak it in vinegar, and you'll know within an hour whether you need a replacement at all.